
Garage Floor Prep for Epoxy: The DIY Steps That Actually Matter
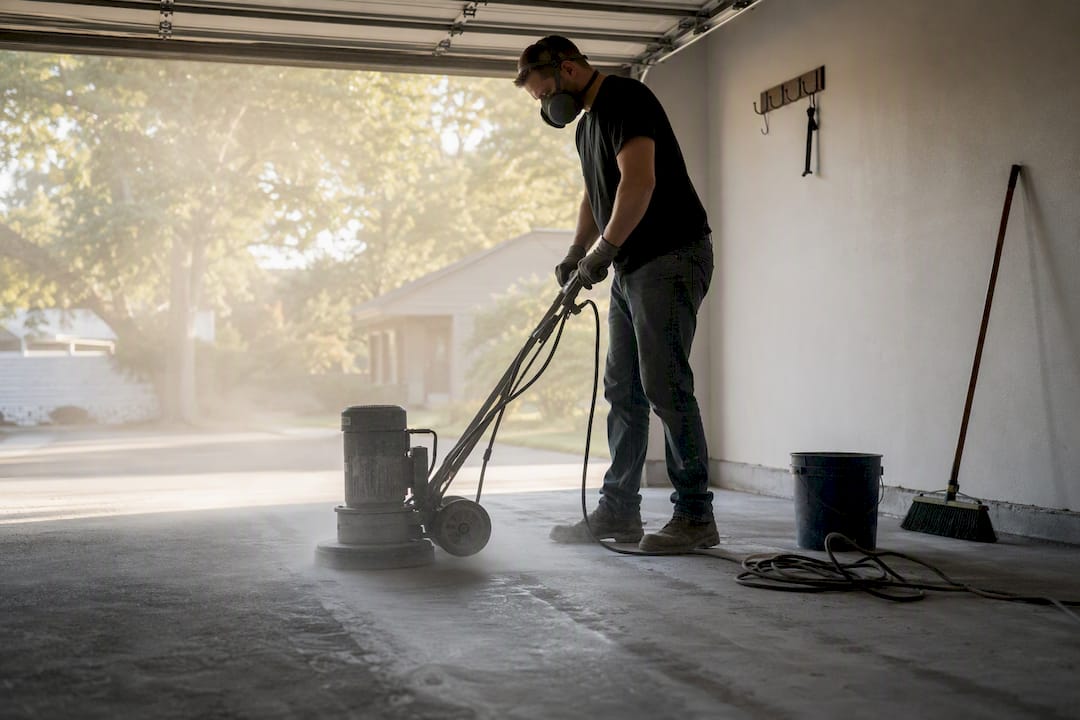
DIY epoxy is completely doable on a weekend timeline, but only if you nail three things first: confirm the slab isn’t wicking moisture, strip every trace of oil and sealer, and cut an open mechanical profile before priming. Skip any one of those and you’re looking at peeling within a year, not the 10 to 20 years a properly prepped floor can deliver.
TL;DR:
- Proper moisture testing and slab profiling are critical before epoxy application, with high calcium-chloride readings or plastic sheet condensation requiring professional intervention.
- For best results, grinding or shot blasting produce a more reliable surface profile than acid etching, which is less suitable for heavy-duty or warranty-covered systems.
- Cleaning must thoroughly remove grease and contamination before coating, with power washing and neutralization being essential to prevent adhesion failure.
- Mixing epoxy precisely and respecting pot life are vital to avoid soft, tacky surfaces, and applying primer correctly significantly improves bond strength.
- Most DIY failures stem from substrate issues rather than application, making professional help necessary for cracked, heavily contaminated, or moisture-laden slabs.
Table of Contents
- What tools and supplies do you need for garage floor prep epoxy?
- How do you evaluate slab condition before starting?
- How do you clean and decontaminate a garage floor for epoxy?
- Should you grind, etch, or shot blast the slab?
- How do you prime, mix, and apply epoxy correctly?
- How long does epoxy take to cure and what causes failures?
- When should you hire a pro instead of DIYing?
- What DIYers get wrong about garage floor prep
- Get professional garage floor prep and epoxy installation
- Sources
What tools and supplies do you need for garage floor prep epoxy?
Buy once, buy right. A rented floor grinder beats an etch kit on almost every slab that isn’t brand new, and the wrong respirator turns a Saturday project into a health hazard.
Tools: shop vacuum (ideally HEPA-rated), stiff-bristle broom, floor grinder rental or muriatic acid etch kit, pressure washer, low-speed mixing drill with a paddle, 3/8-inch nap rollers, a squeegee, and an infrared thermometer to check slab temperature before you mix anything.
Materials: concrete degreaser, a polymer-modified concrete patch for cracks and spalls, your chosen epoxy system, a penetrating primer, an acid neutralizer if you etch, and colored flakes or a clear topcoat if you’re going beyond a solid finish.
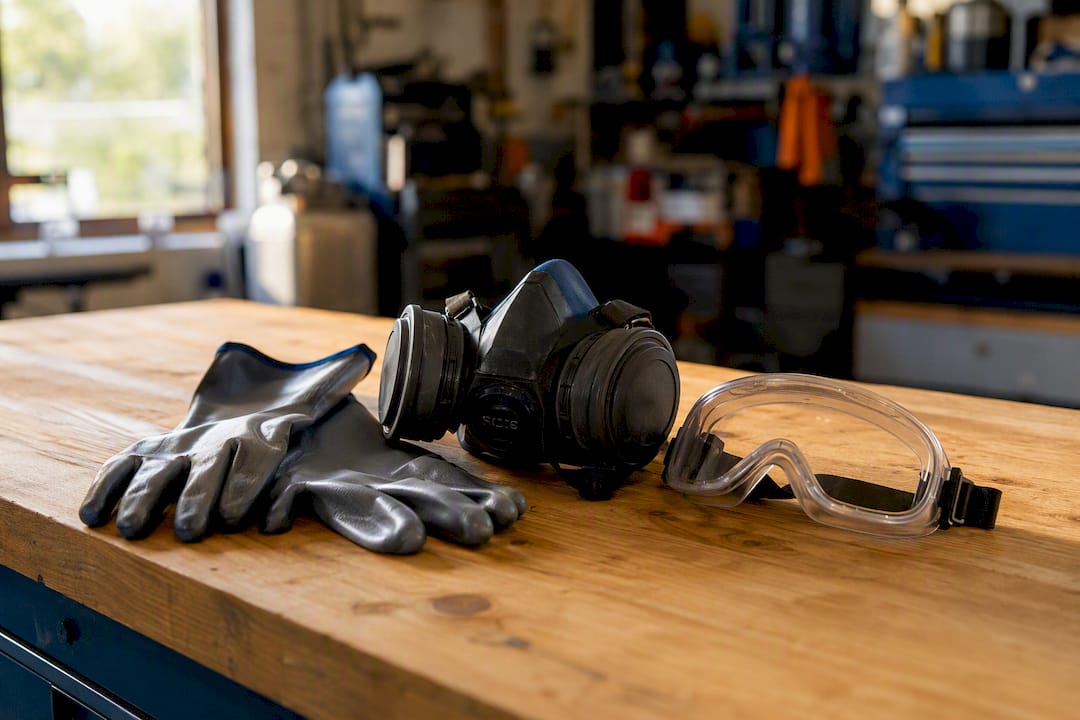
PPE: chemical-resistant gloves, splash goggles, and an N95 or better respirator rated for silica dust when grinding. Muriatic acid needs its own ventilation plan. Grinding concrete releases crystalline silica, so don’t skip the mask for a “quick pass.”
How do you evaluate slab condition before starting?
A five-minute inspection saves you from wasting a weekend on a floor that was never going to hold coating.
- Look for existing paint, sealer, or a glossy sheen. Anything already on the concrete has to come off or get mechanically opened up, per surface-prep guidance from ArmorGarage.
- Check for dark oil stains that have soaked in rather than sitting on the surface. Deep staining means the pores are already contaminated.
- Scan for structural cracks wider than a hairline and note any spalling near the garage door threshold.
- Run the plastic-sheet test: tape a 2-foot square of clear plastic to the floor overnight and check for condensation underneath in the morning.
- If the slab is new (under 30 days) or the plastic test shows moisture, step up to an ASTM F1869 calcium-chloride test or a professional moisture meter reading.
Moisture vapor emission is the single largest cause of coating bond failures in the industry, and it’s invisible until the epoxy bubbles months later. If your calcium-chloride reading comes back high, hold off and call a pro before you spend a dime on materials.
How do you clean and decontaminate a garage floor for epoxy?
Grease is the enemy of adhesion, and most homeowners underestimate how far it has actually spread into the concrete.
- Sweep and vacuum first to pull loose debris before any liquid touches the slab.
- Apply a concrete degreaser or a TSP solution to every visible stain, scrub with a stiff brush, and let it dwell per the label.
- For stubborn oil spots, a mix of Tide powder and warm water scrubbed in, followed by a muriatic acid pass, handles what degreasers can’t touch.
- Power wash the entire floor to flush degreaser residue and loosened contaminants, then let it dry fully before deciding whether grinding or etching comes next.
- If you etch, rinse thoroughly and neutralize the acid with a baking soda solution before it dries on the surface.
Pro Tip: Re-run your moisture check after cleaning. Power washing saturates the top of the slab, and coating over a still-damp floor undoes everything you just did.
Should you grind, etch, or shot blast the slab?
This is where most DIY jobs go wrong. Grinding and shot blasting produce a more consistent, reliable surface profile than acid etching, and manufacturers increasingly exclude etched prep from warranty coverage on heavy-duty systems.
- Grind when: the slab has an existing coating, a curing compound, heavy oil contamination, or is older concrete with a burnished, closed surface.
- Etch when: the slab is bare, uncoated, relatively new, and only lightly contaminated. It’s cheaper and faster, but it typically yields a CSP 1 to 2 profile, on the shallow end of what most epoxy systems want.
- Shot blast when: you’re covering a large area and want speed with a profile similar to grinding, though this is less common for a single-car DIY garage.
Fill cracks and spalls with a polymer-modified patch before you profile the surface, not after, so the grinder or etch solution treats the patch and the surrounding concrete the same way. If you find cracks wider than a quarter inch, active water seepage, or a slab that’s crumbling at the surface, that’s your signal to stop and bring in a professional rather than patch your way around a structural problem.
How do you prime, mix, and apply epoxy correctly?
This is the step where a good prep job either pays off or gets wasted. A penetrating primer applied correctly measurably improves bond strength compared to skipping straight to color coat.
- Thin your first primer coat by roughly 10 to 15% with acetone or denatured alcohol so it actually travels into the concrete pores instead of sitting on top.
- Apply that thinned coat, let it soak in, then apply a second primer coat while the first is still tacky. That timing creates a chemical cross-link between the two layers rather than two separate films.
- Mix your epoxy exactly to the manufacturer’s ratio. Eyeballing it is the fastest way to get a soft, tacky floor that never fully cures.
- Respect pot life. Mix only what you can spread in the working window, usually 20 to 40 minutes depending on temperature, and mix smaller batches on hot days.
- Cut in the edges with a brush first, then pour the main batch and spread with a squeegee before back-rolling in a cross pattern to level it out.
- Broadcast flakes into the wet epoxy if you’re using them, then apply the clear topcoat once the base coat has cured to the manufacturer’s recoat window.
Pro Tip: Check the slab temperature with your infrared thermometer, not the air temperature. Concrete that’s too cold or too hot changes cure speed and pot life dramatically, even when the room feels fine.
How long does epoxy take to cure and what causes failures?
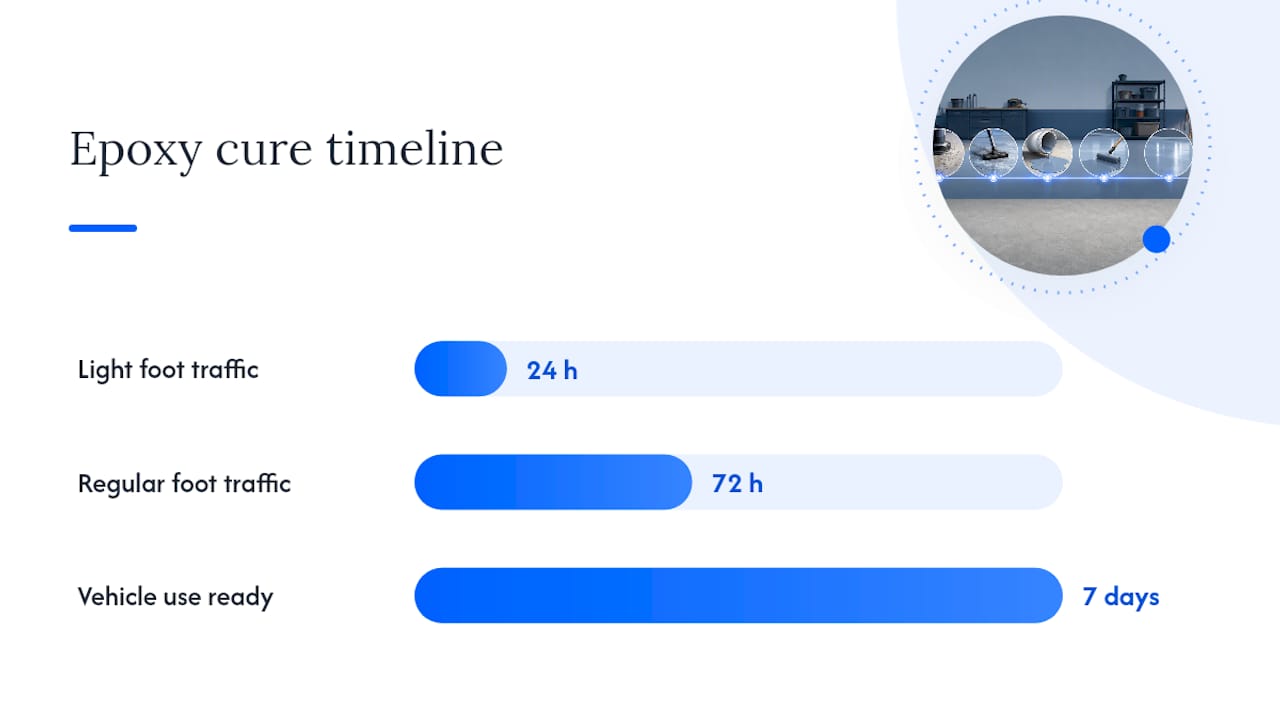
Most 100% solids epoxy systems are ready for light foot traffic in about 24 hours, but reputable guides recommend waiting a full 72 hours before regular foot traffic and 7 days before driving a vehicle on it. Water-based kits often need longer and generally perform worse under stress.
Hot-tire pickup, the epoxy lifting in patches under warm tires, is the most common DIY failure. It happens when a coating with a low glass transition temperature softens under summer heat and rubber grabs it. A 100% solids epoxy resists this far better than thinner water-based products, which is one reason experienced installers steer DIYers away from bargain kits.
Symptom → cause → fix:
- Peeling at the edges → contamination or missed profile → strip back, re-grind, re-prime.
- Bubbling or blistering → trapped moisture vapor → confirms the moisture test was skipped or wrong.
- Soft, tacky floor weeks later → wrong mix ratio or temperature too low during cure → often requires full removal.
- Hot-tire marks → water-based product or thin coat → recoat with a 100% solids system.
When should you hire a pro instead of DIYing?
Call a professional when the moisture test comes back high, when a previous coating is peeling across more than a small section, or when oil contamination has soaked in deep enough that degreasing barely lightens it. Those are substrate problems, not application problems, and no amount of careful rolling fixes them.
A professional crew brings commercial grinders, HEPA-filtered vacuums, and power-washing equipment that gets a deeper, more even profile than a rented single-disc unit. Alldaypowerwashing approaches every garage floor with a moisture check, mechanical profiling, and a guaranteed result, the same non-negotiables covered above, just executed with commercial-grade gear.
What DIYers get wrong about garage floor prep
The industry’s own data backs up something most weekend warriors don’t want to hear: substrate condition determines longevity, not the epoxy brand you buy. A $40-a-gallon coating over a properly ground, moisture-tested, primed slab will outperform a premium epoxy poured over a dusty, contaminated one every time.
Where conventional advice falls short is the obsession with the topcoat. Forums are full of debates over flake color and clear coat sheen while the actual failure point, the profile and primer step, gets a single throwaway sentence. That’s backward. If you only have a weekend and have to choose where to spend your effort, spend it on the moisture test and the grind, not the finish coat.
My honest read: acid etching still has a place on a clean, bare, newer slab, but it’s the exception, not the default, and manufacturers pulling warranty coverage on etched prep tells you where the industry is heading; for a detailed comparison, see Garage Floor Epoxy vs Polyaspartic: Best Choice for Homeowners. Rent the grinder. Thin the first primer coat. Test for moisture before you buy a single can of epoxy.
— Brandon
Get professional garage floor prep and epoxy installation
If the moisture test comes back borderline, the slab has an old coating you don’t want to grind yourself, or you’d just rather skip the rental counter altogether, that’s exactly the gap Alldaypowerwashing fills. 
Alldaypowerwashing handles the entire job, power washing, moisture testing, mechanical profiling, and the primer and topcoat install, backed by a satisfaction guarantee and commercial-grade equipment that gets a deeper, more even profile than most rental gear. You get real crews on your actual job site in Colorado Springs or the Denver metro, not a subcontractor scramble. Browse finished projects in the project gallery or request a same-week quote for Denver to get your garage floor moisture-tested and scheduled.
Sources
- How to Epoxy Your Garage Floor: The Step-by-Step Guide That Actually Works (2026) - Pro Garage Gear
- Diamond Grinding vs Shot Blasting vs Acid Etching: Choosing Surface Prep - National Epoxy
- How to prep & epoxy paint your floor the right way - ArmorGarage