
Can You Put Epoxy Over Old Concrete? Here’s the Real Answer
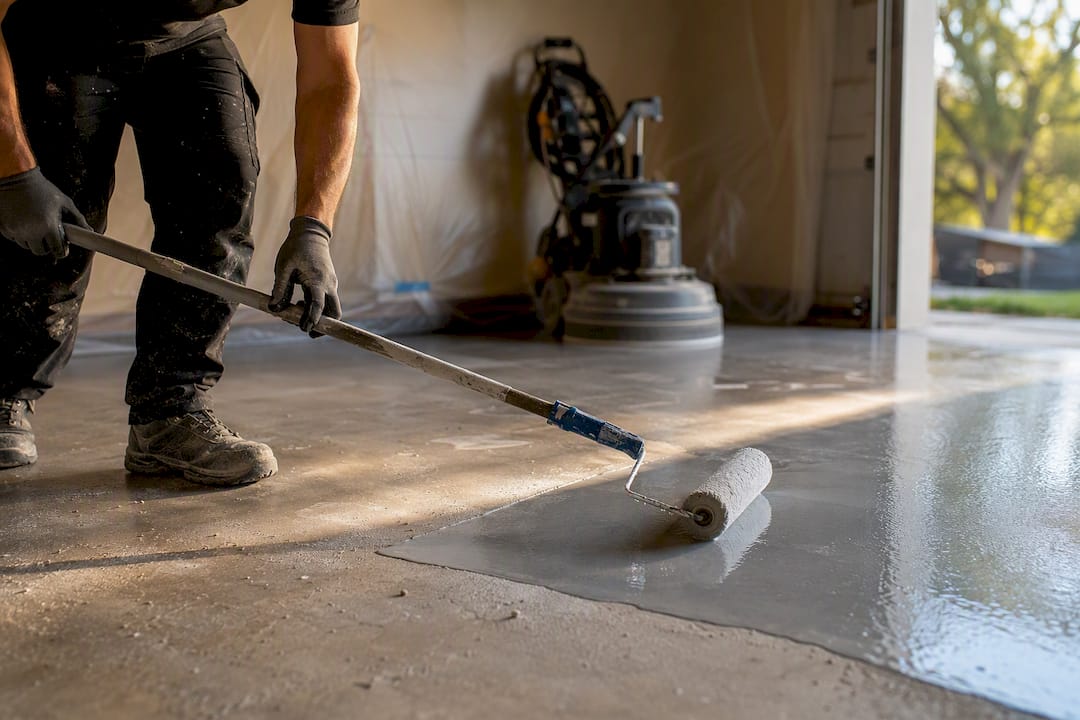
Yes, you can epoxy over old concrete, but only if the slab passes three tests: it’s structurally sound, it’s dry, and it’s free of oil or other contaminants. Skip any one of those checks and you’re gambling with a coating that peels, bubbles, or delaminates within months.
The three things to confirm before you buy a single can of epoxy:
- Surface integrity — no crumbling, no active spalling, no cracks that keep moving
- Moisture levels — no water vapor pushing up through the slab
- Contamination — no oil, grease, or old sealers baked into the pores
Moisture vapor drive causes more epoxy failures than any other single factor, closely followed by oil saturation and rushed surface prep. Get those three right and old concrete takes epoxy just as well as new.
Key Takeaways
Epoxy bonds to old concrete only when the slab passes moisture testing, gets ground to an open profile, and stays free of oil contamination through every prep step.
| Point | Details |
|---|---|
| Test moisture first | Run a plastic-sheet or calcium chloride test before buying any epoxy product. |
| Grind, don’t just etch | Diamond grinding gives a more consistent bond profile than acid etching on old slabs. |
| Fix cracks before coating | Patch and feather spalls and cracks so they don’t show through the finish. |
| Match primer to conditions | Use a moisture-seal primer any time vapor drive shows up on testing. |
| Call a pro for red flags | All Day Power Washing handles failed moisture tests, oil saturation, and structural repairs with insured crews and same-week quotes. |
Table of Contents
- When Epoxy Works on Old Concrete (and When It Doesn’t)
- Inspection and Moisture Testing You Must Run First
- Cleaning and Profiling Old Concrete for Epoxy
- Repairing Cracks and Spalled Areas Before Coating
- Choosing the Right Primer and Epoxy System
- How to Apply Epoxy Over Old Concrete Step by Step
- What to Expect After the Epoxy Cures
- Troubleshooting Common Epoxy Problems
- When to Hire a Professional Instead
- What This Guide Gets Right That Others Skip
- Get Your Old Concrete Coated Right the First Time
- Sources
When Epoxy Works on Old Concrete (and When It Doesn’t)
Old concrete is a good epoxy candidate when it’s fully cured, structurally solid, and hasn’t been soaking up motor oil for twenty years. If the slab rings solid when you tap it with a hammer and water beads up rather than soaking in, you’re probably clear to proceed.
Red flags change the calculus entirely; in those cases, professional concrete pouring and finishing services may be required to properly prepare your slab before epoxy application. Hydrostatic pressure pushing moisture up from below, concrete that crumbles or flakes under a screwdriver, or an active leak from a foundation crack all mean epoxy is the wrong move until the underlying problem gets fixed. In those cases you need a moisture-mitigation system or slab repair first, not a thicker coat of epoxy.
Run this two-minute check before you commit:
- Tap the slab in several spots. Does it sound solid, or hollow and crumbly?
- Look for dark, damp patches, especially near walls or floor drains.
- Smell for oil. If it lingers after cleaning, contamination has gone deep.
Pro Tip: A slab that’s held a garage’s worth of vehicle drips for two decades often has oil migrated several millimeters into the concrete. Surface cleaning alone won’t fix that. You may need a solvent-based degreaser and multiple passes before the concrete is truly ready.
Inspection and Moisture Testing You Must Run First
Moisture is the single biggest reason epoxy over old concrete fails, so testing for it isn’t optional. Run these checks in order:
- Plastic-sheet test. Tape a two-foot square of clear plastic to the floor, seal all four edges, and leave it for 24 to 48 hours. Condensation under the plastic or a darkened patch on the concrete underneath means moisture is moving through the slab and you need a vapor-mitigation primer before anything else.
- Electronic moisture meter. These give you a quick relative reading. Most manufacturers consider anything reading dry to be acceptable; a consistently high reading across multiple spots signals a moisture problem that needs a professional-grade barrier.
- Calcium chloride test. More precise than a meter, this measures actual moisture emission over 60 to 72 hours. Low readings mean standard epoxy systems will bond fine; high readings mean you need a moisture-seal primer or a vapor barrier system.
- Spot-check for old coatings and oil. Pour a few drops of water on random spots. If it beads and sits, an old sealer is probably still present and needs to come off before epoxy will grab.
Cleaning and Profiling Old Concrete for Epoxy
The prep work determines whether your coating lasts two years or twenty. Manufacturer testing and contractor experience both point to the same conclusion: skipping mechanical profiling is the top DIY failure cause.
- Clear the deck. Sweep and vacuum every bit of debris, dust, and loose material. Anything left behind gets trapped under your coating.
- Degrease and pressure wash. Hit oil spots with a concrete-specific degreaser, scrub, then pressure wash. Repeat until water beads up cleanly across the entire surface rather than soaking in.
- Profile the surface. Diamond grinding is the preferred method for old slabs, especially ones with a prior coating or sealer, because it opens the concrete’s pores evenly and gives you a consistent bonding surface. Acid etching works on bare, uncoated concrete, but it’s messier, and any residue must be fully neutralized with a baking-soda rinse before you coat over it.
- Final cleanup. Vacuum again, wipe with tack cloths, and let the slab dry completely. Rushing this step traps moisture under your primer.
Pro Tip: Rent a walk-behind diamond grinder for a one-car garage rather than relying on a handheld unit. It’s faster, gives a far more even profile, and most tool rental counters carry them for a half-day rate that’s cheaper than the epoxy you’d waste on a bad bond.
Repairing Cracks and Spalled Areas Before Coating
Cracks and spalls have to be dealt with before primer ever touches the floor, or they’ll telegraph straight through your finish.
- Narrow cracks (hairline to about ⅛ inch): use a low-viscosity epoxy injection or crack filler that flexes with minor movement.
- Larger spalls and pitted areas: fill with a polymer-modified cement patch, then feather the edges flush with the surrounding slab using a straight edge or trowel.
- Let every patch cure fully, then lightly grind the patched area so it blends into the same surface profile as the rest of the floor.
- If cracks keep reopening across seasons, or if more than a quarter of the slab shows spalling, patching won’t hold. That’s a signal for resurfacing or slab replacement, not more epoxy.
For driveway-specific crack work, a dedicated repair guide walks through sealant choices in more depth.
Choosing the Right Primer and Epoxy System
A moisture-seal primer isn’t optional once your plastic-sheet or calcium chloride test comes back positive. Standard epoxy primers bond fine to dry concrete, but they’ll blister right off a slab with active vapor drive underneath.
- Water-based two-part epoxies are lower odor, easier cleanup, and a solid choice for garages and basements without heavy vehicle traffic.
- Solvent-based epoxies cure harder and bond more aggressively to old, slightly porous concrete, but need real ventilation during application.
- Polyaspartic topcoats cure in hours instead of days, resist UV yellowing far better than standard epoxy, and are worth the extra cost on floors that see sunlight.
Product data sheets aren’t marketing fluff. A typical technical sheet lists coverage rates around 300 to 500 square feet per gallon, recoat windows, and application temperatures generally between 50 and 90°F. Ignore those numbers and you’ll either starve the coating or trap it under a skin that never fully cures.
How to Apply Epoxy Over Old Concrete Step by Step
Once your slab is clean, profiled, patched, and dry, the application itself is mostly about timing.
- Mix in small batches. Two-part epoxy has a limited pot life, often 20 to 40 minutes depending on temperature. Mixing more than you can spread in that window wastes material and leaves lap marks.
- Roll the primer. Use a ⅜-inch nap roller, cross-rolling in perpendicular passes to avoid streaks. Let it hit its recoat window, no longer.
- Apply the base coat, then broadcast decorative flakes while it’s still wet if you want a flake finish. Timing here matters. Too early and flakes sink; too late and they don’t stick.
- Roll the topcoat once the base has cured enough to walk on, typically the next day. Cross-roll again, and use spiked shoes to walk back through wet epoxy and pop any trapped air bubbles.
Pro Tip: Keep a second roller on hand strictly for “re-rolling” the wet edge every few minutes. Epoxy that sits too long before you tie in the next section leaves a visible lap line that no topcoat fully hides.
Ventilate the space well during mixing and application. Solvent-based systems especially call for a respirator and open windows or a fan running the whole time you’re working.
What to Expect After the Epoxy Cures
Foot traffic is usually safe after 24 hours; vehicles need closer to 72 hours, longer if your garage runs cold or humid. Rushing a car back onto a fresh coat is one of the fastest ways to leave tire marks permanently pressed into the finish.
- A properly prepped, professionally installed epoxy floor commonly lasts 10 to 20 years, with heavy daily vehicle traffic on the shorter end of that range.
- Sweep and mop regularly, avoid dragging metal furniture or sharp equipment across it, and recoat the topcoat every several years in high-traffic zones once you notice dulling.
- Skipped prep steps or moisture problems that weren’t fully solved will always shorten that lifespan, no matter how good the epoxy itself is.
Troubleshooting Common Epoxy Problems
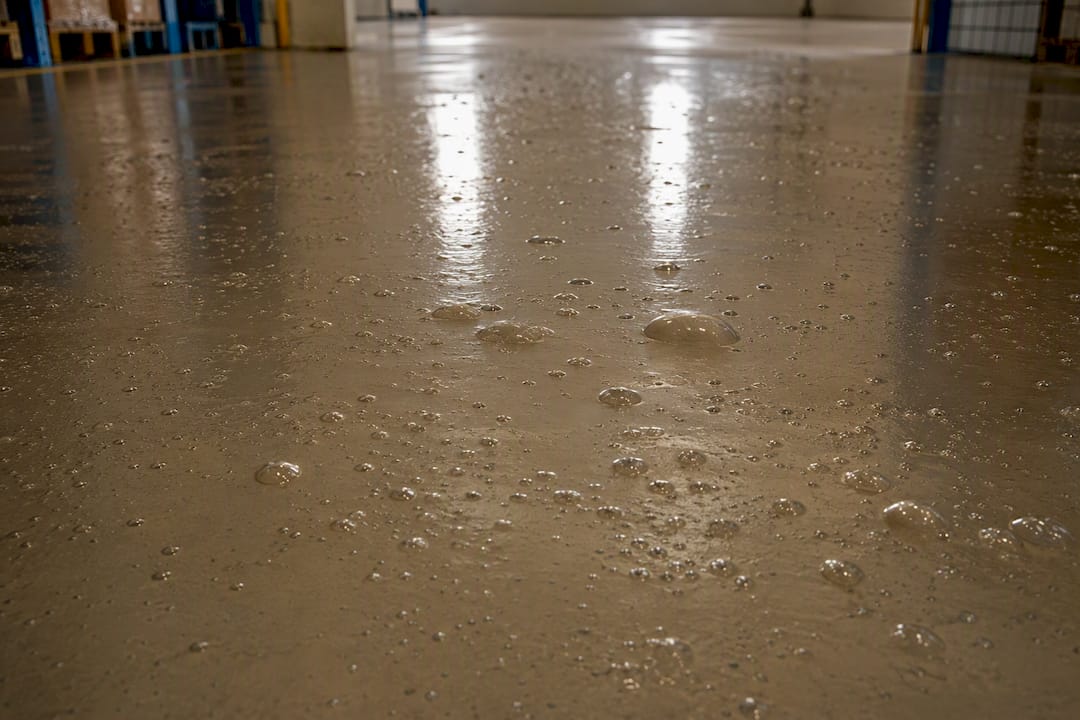
Bubbling usually means one of two things: trapped air from rolling too fast, or off-gassing moisture vapor from an undried slab. Spiked shoes and slower rolling fix the first; the second means you skipped a moisture test you shouldn’t have.
Peeling almost always traces back to inadequate profiling, meaning the concrete’s pores never opened enough for a mechanical bond. A quick fingernail-scratch test on a cured edge tells you fast: epoxy that flakes off in sheets rather than resisting the scratch was never really bonded.
Uneven finish, streaks, or lap lines come from letting the wet edge dry before tying in the next section. Working in smaller sections with a partner rolling behind you solves this on bigger floors.
When to Hire a Professional Instead
Some jobs are beyond a weekend project. If your plastic-sheet test comes back wet, if oil has soaked deep into a slab that’s hosted decades of vehicle traffic, or if you’re seeing structural cracks and settling, call in a crew with industrial grinding equipment and vapor-mitigation primers.
All Day Power Washing runs insured crews with commercial-grade gear on real job sites across Colorado Springs and Denver, backing epoxy garage floor installs with same-week quotes and guaranteed results.
What This Guide Gets Right That Others Skip
Most epoxy guides bury the moisture test three paragraphs deep, after they’ve already sold you on how easy the project is. That’s backward. If your slab fails a plastic-sheet test, none of the roller technique or flake-broadcasting advice matters. You’ll be repainting within a year.
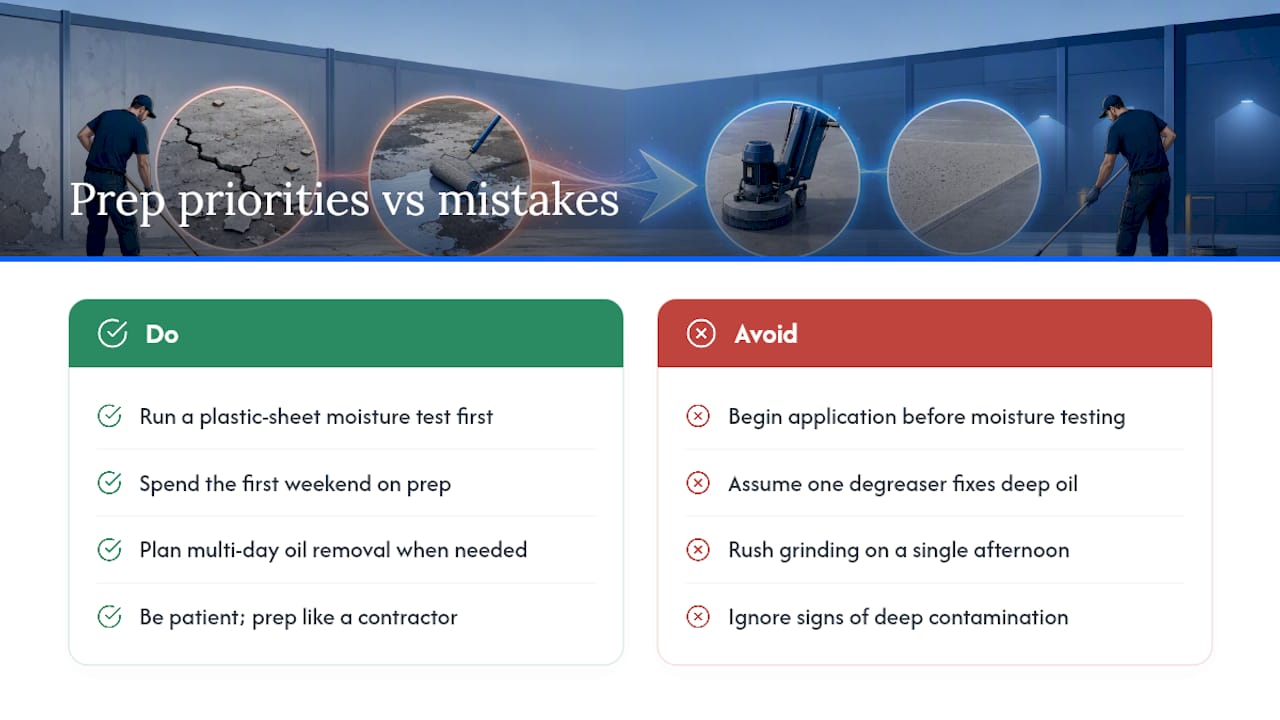
The conventional DIY advice also underplays how much oil migrates into old concrete. A garage floor that’s absorbed drips for fifteen years isn’t a cleaning problem you solve with one degreaser pass. It’s often a multi-day process, and sometimes the contamination has gone deep enough that no amount of scrubbing gets you a reliable bond.
My honest read: spend your first weekend entirely on testing and prep, not application. A rushed grind job on a Saturday afternoon is the single most common reason garage epoxy jobs fail within eighteen months. The floor deserves the same patience you’d want from a contractor bidding the job.
— Brandon
Get Your Old Concrete Coated Right the First Time
If everything above sounds like more equipment, testing, and weekend hours than you want to spend, All Day Power Washing installs epoxy garage floors with the industrial grinding gear and moisture-mitigation know-how that a rental-shop grinder can’t match. You get a crew that’s already run the plastic-sheet test a hundred times and knows exactly which slabs need a vapor barrier before the first coat ever touches the floor.

All Day Power Washing serves homeowners across Colorado Springs and the Denver metro area with solid, metallic, and flake epoxy finishes, backed by insured crews and a satisfaction guarantee. If your old concrete failed a moisture test or has decades of oil buildup you’d rather not fight yourself, request a same-week quote and get a straight answer on what your slab actually needs.
Sources
- Epoxy-Seal Armor / Seal-Krete product technical information (Lowes PDF)
- Can Epoxy Flooring Be Installed Over Old Concrete? Here’s What You Need to Know — The Epoxy Guys