
Epoxy vs Garage Tiles: Which Floor Is Right for You?
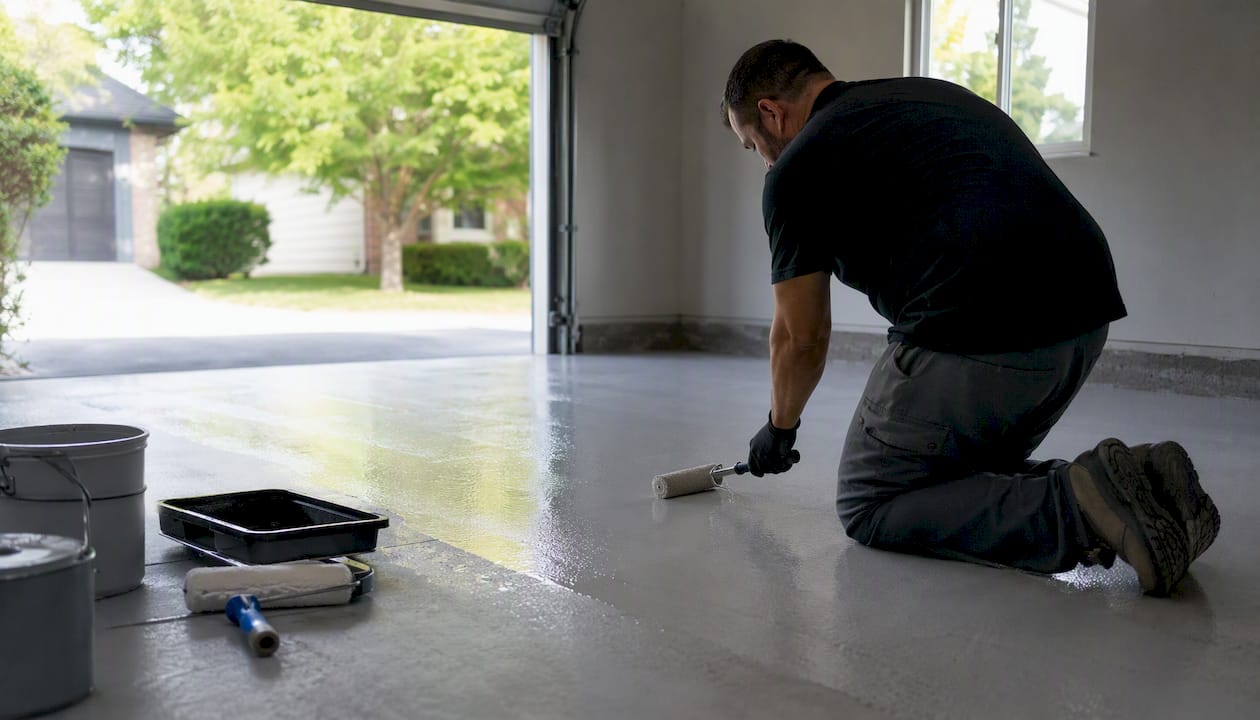
For most homeowners who want a long-lasting, showroom-quality garage floor, professional epoxy is the stronger choice. A 100% solids epoxy system installed by a crew like Alldaypowerwashing delivers a seamless, chemical-resistant surface that modular tiles simply cannot match on aesthetics or durability. The one non-negotiable: your slab must pass an ASTM F2170 moisture test before any coating goes down. Skip that step and even the best epoxy will bubble and peel within a year.
Two situations where tiles make more sense: you’re renting (and can’t permanently alter the floor), or your slab has active moisture vapor that no coating can safely contain. For everyone else, epoxy wins.
Table of Contents
- What is epoxy garage flooring, and how does it actually work?
- What are garage floor tiles, and which type should you consider?
- Epoxy vs garage tiles: side-by-side comparison
- How long does installation take, and what does it cost?
- How do you maintain and repair each system?
- What professionals do differently, and when should you hire one?
- Key Takeaways
- The trade-off most homeowners don’t see coming
- Alldaypowerwashing installs professional epoxy floors in Colorado Springs and Denver
What is epoxy garage flooring, and how does it actually work?
Epoxy is a two-part resin system — a base and a hardener — that chemically bonds to concrete and cures into a hard, seamless surface. That seamless quality is what separates it from every tile option: there are no joints for oil, brake fluid, or road salt to seep into.
Three system types matter for homeowners:
Water-based DIY kits are sold at big-box stores and cost the least upfront. They’re also the most likely to fail. The resin solids content is low, the bond is thinner, and the surface prep instructions assume a homeowner with a rented floor grinder and no prior experience. DIY epoxy kits frequently underperform in garage use because homeowner-quality surface prep rarely opens the concrete pores enough for a lasting bond.
100% solids professional epoxy is a different product entirely. Higher resin density means a thicker, harder film that resists hot tires, heavy impacts, and chemical spills. This is what professional installers use, and it’s what delivers the showroom-quality high-gloss finish that makes a garage look like a finished room.
Polyaspartic and polyurea topcoats are fast-cure alternatives often applied over an epoxy base. They resist UV yellowing and hot-tire pickup better than standard epoxy, though they add cost. If your garage gets direct sun through an open door, a UV-stable topcoat is worth the upgrade.
The three most common failure causes are moisture vapor pushing up through the slab, oil contamination the prep crew missed, and inadequate surface profiling. Concrete must be ground (not just acid-etched) to open its pores so the resin can penetrate and grip. That’s why proper grinding and moisture control are the foundation of any lasting epoxy bond.
Pro Tip: Before any epoxy goes down, test your slab with an ASTM F2170 in-situ relative humidity probe or a calcium chloride test. A reading above 75% RH is a red flag — coating over it without a moisture-mitigating primer is how you get bubbles in six months.
Epoxy’s strengths are real: superior chemical and stain resistance from its seamless surface, a finish that reflects light and makes the space feel larger, and a lifespan of 10–15 years with proper maintenance. Its weaknesses are equally real: it demands a clean, profiled slab, and a failed install means grinding everything off and starting over.
What are garage floor tiles, and which type should you consider?
Modular garage tiles are interlocking panels you snap together directly on the slab, no adhesive required. The category covers four distinct materials, and they behave very differently.
Interlocking PVC/vinyl tiles are the most popular DIY option. They’re dense, comfortable underfoot, and available in a wide range of colors and patterns. Chemical resistance is decent for everyday spills, though concentrated solvents can stain lighter colors over time.
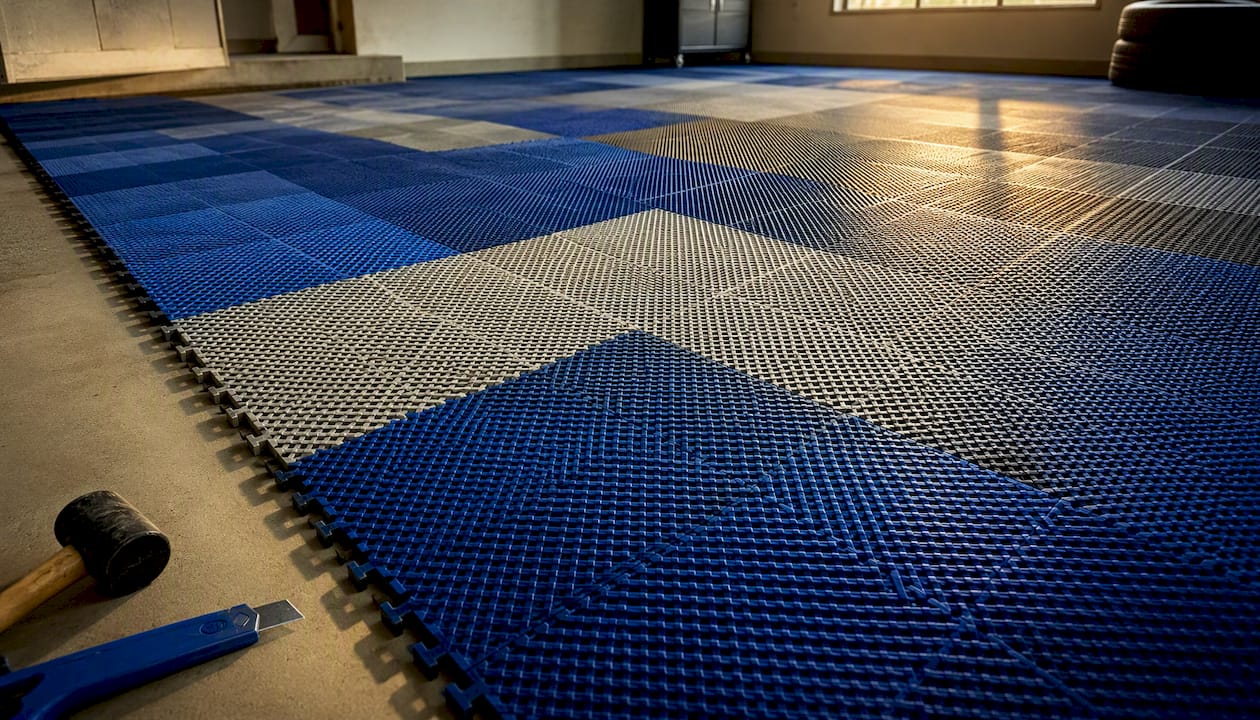
Polypropylene vented (grid) tiles are the right call for moisture-prone slabs. Their open grid design lets the concrete breathe, and vented interlocking tiles allow the slab to breathe where vapor drive is present — a problem that would cause sealed epoxy to bubble and delaminate. They’re also the lightest option and the easiest to remove and reinstall.
Rubber tiles absorb impact better than any other option, which makes them popular in workshop areas where tools get dropped. They’re heavier, harder to cut around obstacles, and less visually polished than PVC.
Ceramic and porcelain tiles are permanent, hard, and look sharp. They also require a perfectly level slab, grout that traps grime, and professional installation to avoid cracking. For most garages, the grout maintenance alone rules them out.
The installation advantage tiles hold over epoxy is significant: interlocking tiles install quickly, require minimal surface prep, and allow individual tile replacement when one section gets damaged. A broom-clean slab is usually sufficient. No grinding, no moisture testing, no cure time. You can park on them the same day.
Portability is the sleeper benefit. Renters and homeowners who move frequently can pull up polypropylene tiles and reinstall them in a new garage, which makes the upfront cost feel very different from a permanent coating.
The downside is the seams. Every tile joint is a potential trap for liquids and debris, and epoxy’s seamless surface gives it a clear advantage in chemical and stain resistance over any tiled floor.
Epoxy vs garage tiles: side-by-side comparison
| Dimension | Epoxy coating | Garage tiles |
|---|---|---|
| Durability | High with pro install; chips under heavy impact | Varies by material; rubber and polypropylene are impact-tolerant |
| Chemical & stain resistance | Excellent (seamless surface) | Moderate; seams trap liquids |
| Installation difficulty | High; requires grinding, moisture testing, cure time | Low; snap-together on a broom-clean slab |
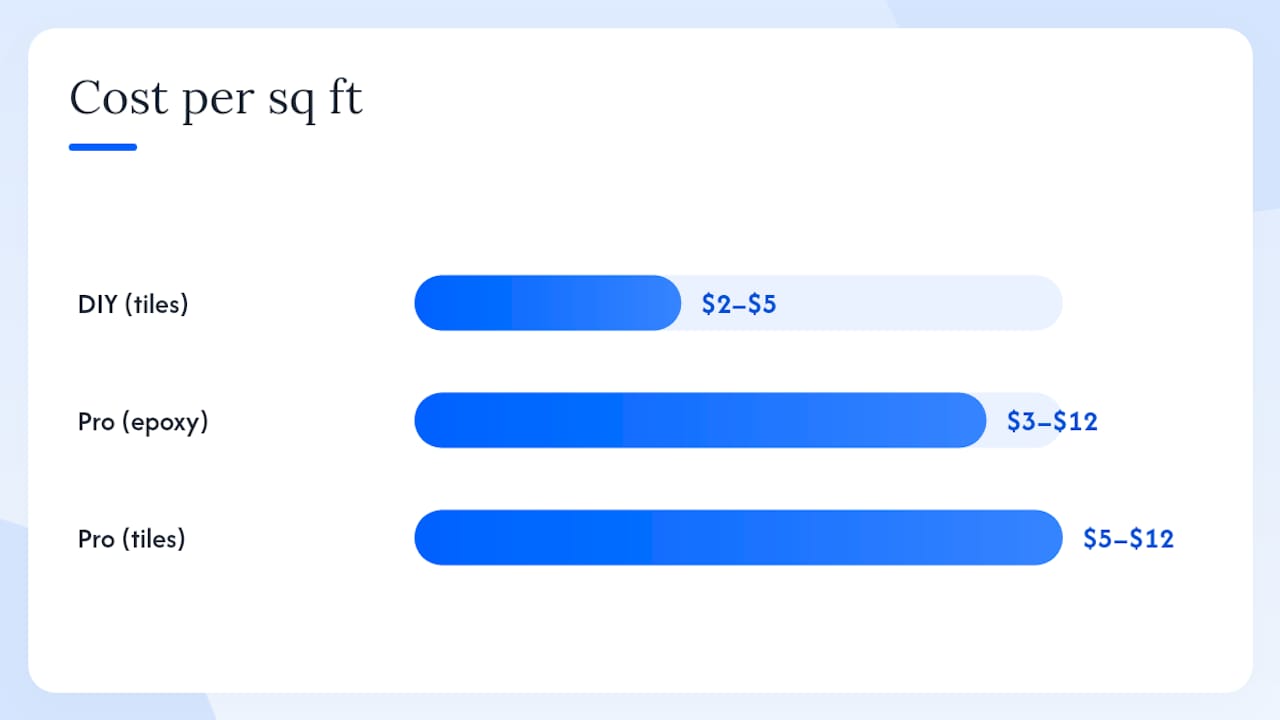
| DIY cost (per sq ft) | Low (kit) but high failure risk | $2–$5 (vinyl/PVC installed) |
| Pro cost (per sq ft) | $3–$12 depending on prep and topcoat | $5–$12 for ceramic/porcelain |
| Maintenance | Easy to clean; chips require patch or recoat | Easy; replace individual tiles |
| Repairability | Spot patches visible; full recoat for large damage | Single-tile swap; no visible seam disruption |
| Aesthetics | Showroom-quality gloss; metallic and flake options | Functional; limited high-end finish options |
| Slip resistance | Requires anti-slip additive or texture topcoat | Textured surfaces standard on most tiles |
| Moisture tolerance | Poor on active slabs; delamination risk | Excellent with vented polypropylene tiles |
| Longevity | 10–15 years (pro install) | 5–20 years depending on material |
The biggest single risk with epoxy is moisture-related delamination. The biggest single advantage tiles hold is repairability: swap one tile in five minutes versus patching or recoating an epoxy floor.
How long does installation take, and what does it cost?
Tile installation steps and timeline
Tile installs are genuinely fast. Clean the slab, snap tiles together starting from the center, cut edge tiles with a utility knife or jigsaw, and install edge trim. A two-car garage can be done in a weekend afternoon. No cure time. Drive on it immediately.
Cost ranges
| System | DIY cost per sq ft | Pro cost per sq ft |
|---|---|---|
| Interlocking vinyl/PVC tiles | $2–$5 | N/A (typically DIY) |
| Ceramic/porcelain tiles | N/A | $5–$12 |
| Epoxy (DIY kit) | $1–$3 | N/A |
| Professional epoxy | N/A | $3–$12 |
Source: Floor Chem Depot cost comparison. Ranges reflect material grade, prep complexity, and regional labor rates. Colorado-specific pricing is detailed in Alldaypowerwashing’s epoxy garage floor cost guide.
Surface-prep checklist before epoxy: test slab moisture (ASTM F2170), degrease all oil spots, mechanically grind the full surface, repair cracks and spalls, vacuum and tack-clean. For tiles: verify the slab is reasonably flat (no high spots over 3/16"), sweep clean, and check for active water intrusion at the perimeter.
How do you maintain and repair each system?
Epoxy floor care
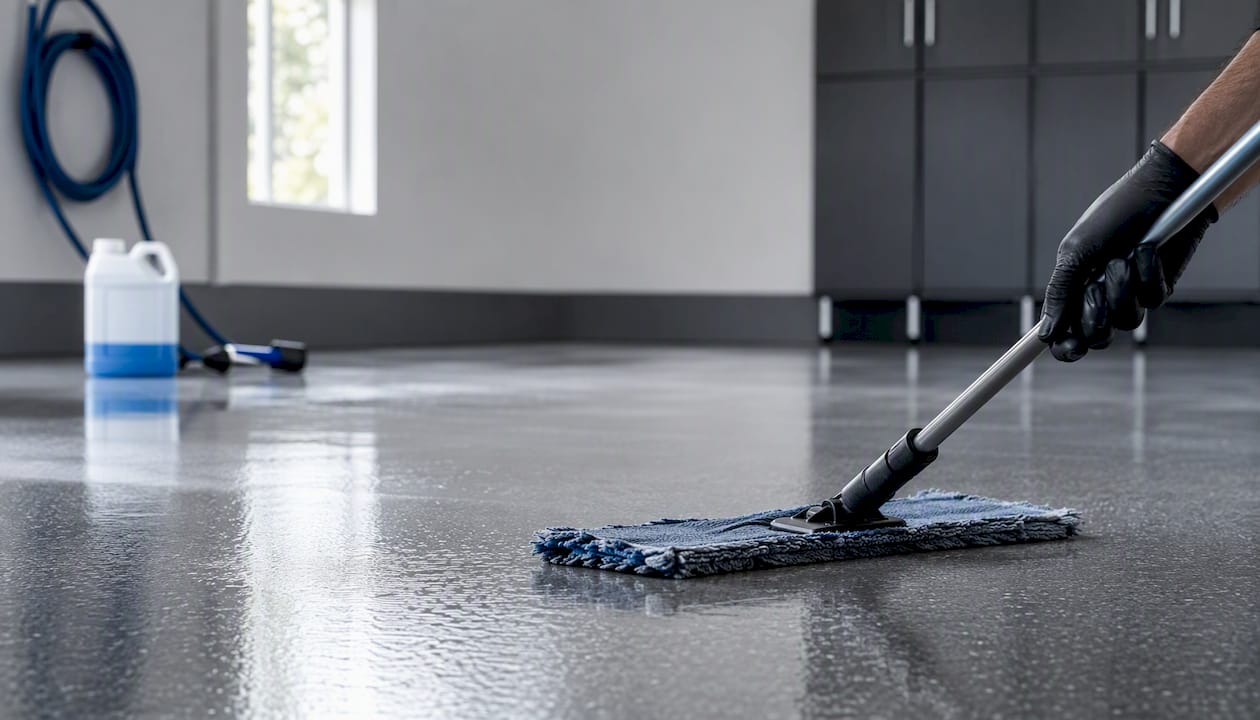
Day-to-day cleaning is simple: a dust mop or leaf blower for debris, then a damp mop with a pH-neutral cleaner. Avoid ammonia-based cleaners and harsh solvents, which can dull the topcoat over time. For rust stains or stubborn deposits, concrete-specific stain removal techniques work well without damaging the coating.
Chips and gouges are where epoxy gets complicated. A small chip can be patched with a color-matched epoxy filler, but the repair is usually visible on close inspection. Widespread peeling or delamination means grinding the floor back to bare concrete and starting over. That’s a significant cost and time investment.
Tile floor care
Sweep, mop, done. Vented polypropylene tiles occasionally need to be lifted and cleaned underneath if debris accumulates in the grid. The real advantage shows up at repair time: one cracked or stained tile pops out and a new one snaps in. No color-matching, no cure time, no visible seam disruption.
Epoxy floors last 10–15 years with proper maintenance; tiles range from 5–20 years depending on material, with rubber and polypropylene outlasting vinyl in high-traffic areas.
Slip resistance
Standard epoxy is slippery when wet unless you add aluminum oxide or shark-grip aggregate to the topcoat. Most tile products have textured surfaces built in. If you’re adding anti-slip aggregate to epoxy, specify it during the topcoat application — it can’t be added after the fact.
Pro Tip: Place a heavy-duty rubber parking mat under each tire contact point. It prevents the majority of hot-tire scuffing, point-load chips, and oil drip damage — and it costs a fraction of a repair call.
Use-case quick reference
| Garage profile | Recommended system | DIY or pro? |
|---|---|---|
| Daily driver, clean slab | Professional epoxy | Pro |
| Workshop with heavy impact | Epoxy main area + rubber tiles at bench | Hybrid |
| Show garage / collector | 100% solids epoxy with metallic finish | Pro |
| Rental unit | Interlocking polypropylene or PVC tiles | DIY |
| Moisture-active slab | Vented polypropylene tiles | DIY |
| Quick weekend project | Interlocking vinyl tiles | DIY |
Can you put tiles over epoxy? Generally, no. Interlocking tiles need a flat, stable surface, and a flaked epoxy topcoat creates an uneven base that causes tiles to rock and crack. If you already have epoxy and want tiles on top, the epoxy surface needs to be in near-perfect condition and flat. In most cases, it’s not worth it.
What professionals do differently, and when should you hire one?
The gap between a DIY epoxy kit and a professional install isn’t just the product — it’s the prep. Epoxy adhesion depends entirely on proper grinding and moisture control. A professional crew brings a commercial diamond grinder that opens concrete pores to the correct profile (typically CSP 2–3 per ICRI standards), tests moisture with calibrated instruments, remediates oil contamination with degreasers and mechanical action, and patches cracks with flexible fillers before a single drop of resin goes down.
Professional epoxy systems use 100% solids resins with UV-stable polyaspartic topcoats — products not available in big-box stores — and the installation comes with a satisfaction guarantee that a DIY kit never will.
Hiring a pro makes clear financial sense when: your garage is larger than 400 sq ft (prep time scales fast), you want a metallic or custom flake finish, your slab has oil contamination or moisture concerns, or you simply want the job done right the first time with a warranty behind it.
Alldaypowerwashing installs professional epoxy floor coatings in solid, metallic, and flake finishes for residential and commercial garages across Colorado Springs and the Denver metro area. Every job includes a surface assessment, commercial grinding, and a satisfaction guarantee. For a breakdown of what professional installation costs in Colorado, the epoxy garage floor cost guide covers local pricing in detail.
Key Takeaways
Professional epoxy outperforms modular tiles on aesthetics, chemical resistance, and longevity, but tiles win on moisture tolerance, repairability, and installation speed.
| Point | Details |
|---|---|
| Choose epoxy for permanence | A pro-installed 100% solids epoxy lasts 10–15 years and delivers a showroom finish no tile system matches. |
| Choose tiles for flexibility | Interlocking polypropylene or PVC tiles suit renters, moisture-active slabs, and anyone who wants a same-day install. |
| Moisture testing is non-negotiable | Test your slab with ASTM F2170 before any coating; active vapor drive will delaminate sealed epoxy. |
| Repair trade-offs are real | Epoxy chips require color-matched patching or full recoat; a damaged tile swaps out in minutes. |
| Alldaypowerwashing for pro epoxy | Alldaypowerwashing installs professional epoxy coatings in Colorado Springs and Denver with a satisfaction guarantee. |
The trade-off most homeowners don’t see coming
The conventional wisdom frames this as a cost decision: tiles are cheap and easy, epoxy is expensive and hard. That framing misses the real variable, which is failure cost.
A DIY tile floor that doesn’t work out costs you an afternoon and the price of the tiles. A DIY epoxy job that fails — and they fail often, because homeowner prep is almost never good enough — costs you the kit, a rental grinder, and then a professional crew to strip and redo the whole floor. The “cheap” option ends up being the most expensive one.
What I’d tell any homeowner: if you’re going to do epoxy, do it once and do it right. The moisture test, the commercial grinder, the 100% solids resin — none of that is optional. If your budget or timeline doesn’t allow for proper prep, tiles are genuinely the smarter call. A good polypropylene tile floor in a rental or a moisture-prone garage will outlast a poorly installed epoxy job by years.
The hybrid approach is underused. Epoxy in the main parking bay, rubber tiles under the workbench and at the entry door where hot tires and dropped tools do the most damage. You get the showroom look where it matters and the repairability where you need it.
Alldaypowerwashing installs professional epoxy floors in Colorado Springs and Denver
If you’ve worked through this guide and landed on professional epoxy, the next step is an on-site estimate that includes a moisture assessment and surface evaluation before any pricing is committed. Alldaypowerwashing installs solid, metallic, and decorative flake epoxy systems for residential and commercial garages across Colorado Springs and the Denver metro area. Every job is backed by a satisfaction guarantee, and same-week quotes are available.

The difference between a floor that lasts 10–15 years and one that peels in less than two years comes down to what happens before the first coat goes down. Request a quote or visit the Denver service page to schedule your assessment.
Useful sources
- Garage Tiles and Epoxy Coating: Which Option Should You Consider?
- Garage Floor Tiles vs Epoxy: Pros, Cons, and Costs — Floor Chem Depot
- Garage Floor Coatings vs Tiles (2026) — Epoxy, Polycuramine & Tile Comparison
- Epoxy vs Vinyl Tile: Which Flooring Is the Better Option for Your Garage? | GarageExperts®
- Garage Floor Tiles vs Epoxy: Australian Comparison 2026 — Sleek Space