

Homeowners: Use 1,200–1,500 PSI on Siding, When to DIY or Hire a Pro
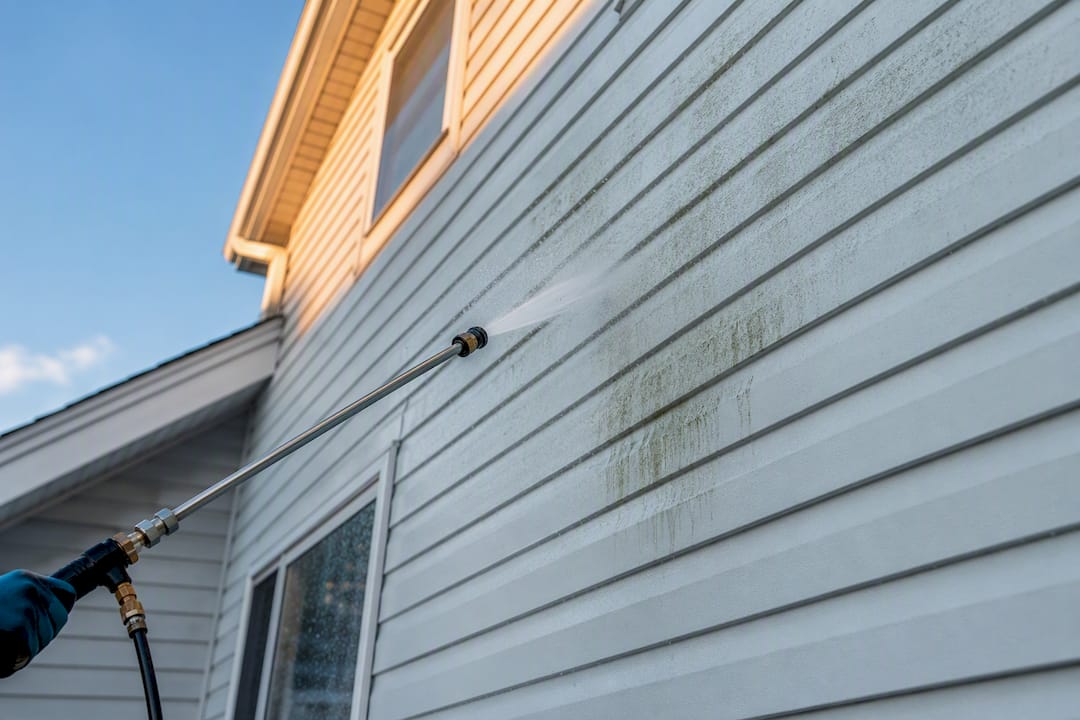
Yes, and it is not optional if you want the paint to last. Pressure washing before painting strips away dirt, chalk, and mildew that block adhesion, but the job only works if you repair damaged surfaces first and let everything dry completely before you open a paint can.
TL;DR:
- Most houses need pressure washing before painting, especially if there is chalk, mildew, or dirt more than two to three years old, to ensure proper paint adhesion.
- Use 1,200 to 1,500 PSI for vinyl and wood siding with a quality nozzle, avoiding zero-degree tips, and test on a hidden area to prevent damage.
- Allow at least 24 to 48 hours for vinyl and up to five days for masonry and stucco surfaces to fully dry before painting to avoid trapped moisture.
- Avoid common mistakes such as using incorrect pressure, spraying upward into siding overlaps, or working from a ladder with a live hose, which can cause damage or safety hazards.
- Consider hiring a professional if the home is older, has fragile materials, or involves height and lead paint risks, to minimize damage and ensure safety.
Table of Contents
- When Does Your House Actually Need Power Washing?
- What PSI and Detergents Work Best for Each Surface?
- How Do You Wash a House the Right Way, Step by Step?
- How Long Should You Wait Before Painting After Washing?
- What Mistakes Ruin a Power Washing Job Before Painting?
- What Field Experience Tells You About DIY vs. Hiring a Pro
- Get a Same-Week Quote for Professional House Washing
- Sources
- FAQ
When Does Your House Actually Need Power Washing?
Not every house needs a full power wash before paint hits the wall, but most do. If your siding shows chalky residue that rubs off on your hand, greenish mildew streaks under eaves, or it has been more than two or three years since the last real cleaning, washing isn’t optional. Pressure washing before painting clears away the grime and biological growth that stop paint from bonding to the surface underneath.
There are situations where you should back off the pressure entirely. Old hand-cut wood siding, brittle or hairline-cracked stucco, and any home built before 1978 with suspected lead paint all call for a gentler touch, not a wand blasting 1,500 PSI.
Run this quick check before you start:
- Rub a hand across the siding. Chalky white residue means it needs cleaning.
- Look for dark streaks or green patches, especially on north-facing walls.
- Check paint edges for peeling or flaking that pressure could tear loose.
- If the home predates 1978, test for lead paint before doing anything else.
What PSI and Detergents Work Best for Each Surface?
Settings that work fine on brick will shred old wood siding. Vinyl and most wood siding clean well at 1,200 to 1,500 PSI, while brick and concrete tolerate more. Stucco and aging or hand-split wood need less pressure and a wider fan pattern to avoid gouging.
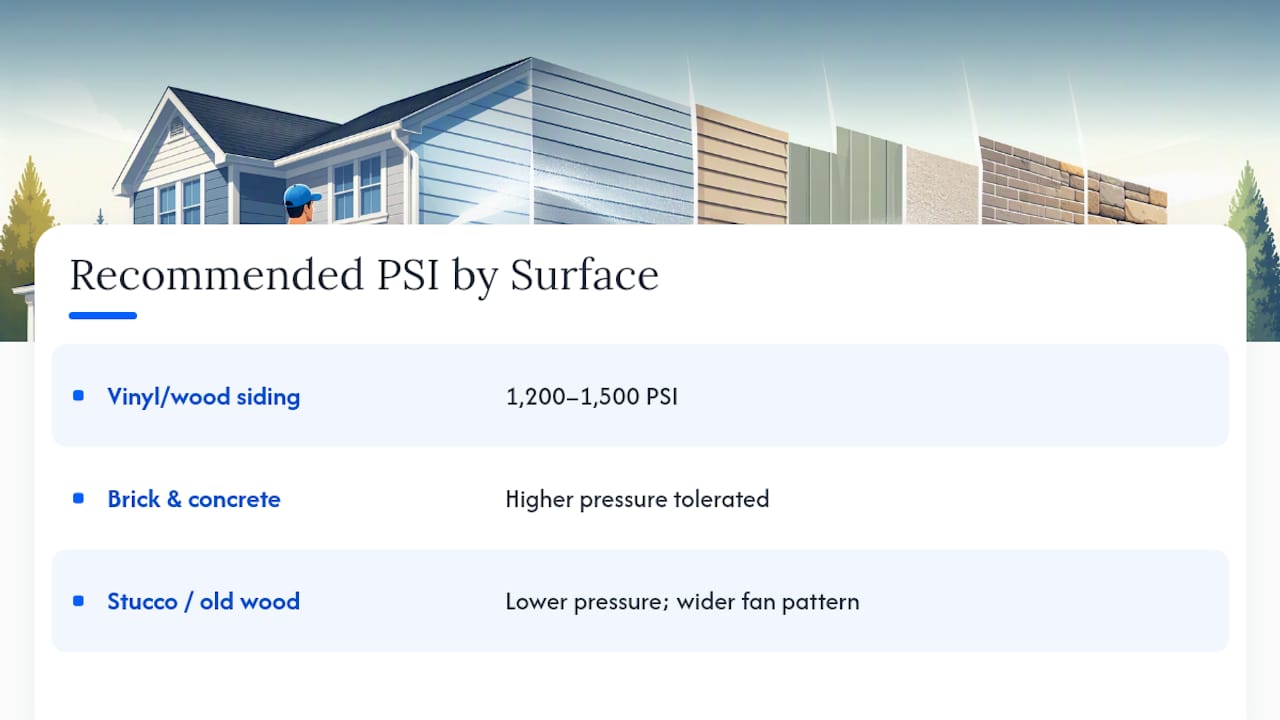
Nozzle choice matters as much as PSI. A white 40-degree tip is the safe default for siding. Never use a zero-degree red tip on a house. That nozzle is built for concrete and will punch through paint and wood fiber in seconds.
Pro Tip: Test your setup on a hidden section, like behind a bush or under a deck, before you touch the front elevation.
Electric washers handle most single-story homes fine, but two-story jobs with an extension wand need a gas unit with steady flow to keep pressure consistent at height.
For detergent, oxygen bleach is safer around landscaping and pets, while diluted chlorine bleach cuts through heavier mildew faster; check these effective cleaning solutions for property managers for more guidance. Either way, apply through a soap nozzle and let it dwell before rinsing. A safe algae removal method also protects the plants below the work zone.
Confirm your water supply can keep up before starting: most washers need roughly 40 to 60 PSI at the outdoor bib to maintain proper wand pressure throughout the job.
How Do You Wash a House the Right Way, Step by Step?
Skipping steps here is how homeowners end up with peeling paint six months later. Follow this order and you’ll avoid the two most common failures: trapped moisture and stripped paint.
- Repair first. Scrape loose paint, replace rotten trim, and caulk gaps before any water touches the house.
- Protect the surroundings. Cover outdoor outlets, move potted plants, and wet down landscaping that will sit near the detergent.
- Test the pressure. Check bib pressure and do a test pass on a hidden section with your chosen nozzle.
- Pre-rinse top-down. Knock loose surface dust and cobwebs off before applying any cleaner.
- Apply detergent bottom-up. This spreads cleaner evenly and prevents streaking as it runs down the wall. Apply the cleaner bottom-up and let it dwell for 5 to 10 minutes.
- Rinse top-down. Working from the top clears dirty runoff before it dries on cleaner sections below.
- Hold steady distance. Keep the tip 12 to 18 inches from the surface and keep the wand moving constantly.
- Inspect as you go. Pause every section to check for paint lifting, and back off pressure immediately if it does.
Pro Tip: Never point the wand upward into siding laps. Water forced under the overlap gets trapped and causes rot and blistering long after the surface looks dry.
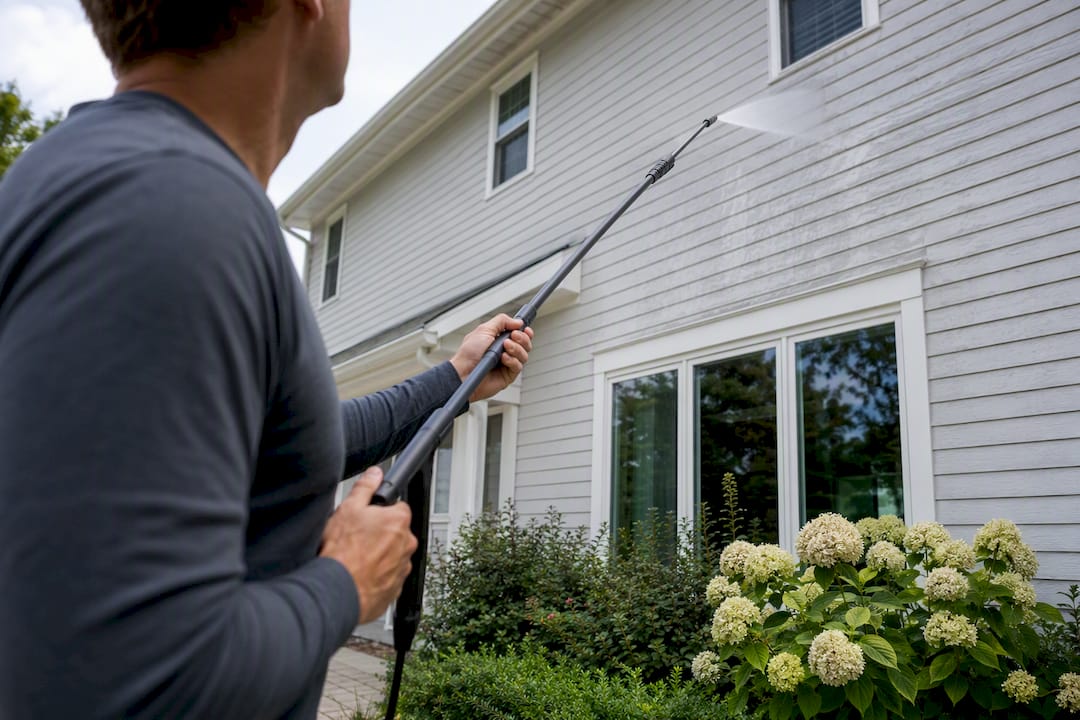
For upper stories, use a proper extension wand rather than working from a ladder with a live hose. That single habit change prevents most of the falls that happen during DIY house washing.
How Long Should You Wait Before Painting After Washing?
Painting too soon is the single fastest way to ruin a fresh wash job. Moisture trapped under a coat of latex or oil paint causes blistering and peeling within weeks, and there’s no fixing it without stripping the wall back down.
Recommended drying windows before painting:
- Vinyl siding: 24 to 48 hours
- Wood siding: 48 to 72 hours
- Masonry and stucco: 3 to 5 days
For wood, a moisture meter reading below roughly 15% confirms its ready. In shaded areas without a meter, press a clean paper towel against the surface. If it comes away damp, wait longer. If rain hits before you get to painting, plan on a light re-rinse of dusty or streaked areas before priming.
What Mistakes Ruin a Power Washing Job Before Painting?
Most DIY power washing failures trace back to the same handful of errors, and they’re all preventable.
- Wrong PSI or nozzle for the surface, which gouges wood and strips paint you wanted to keep.
- Spraying upward under siding laps, forcing water behind the boards where it can’t escape.
- Holding the wand still in one spot, which etches wood and can crack stucco.
- Painting before the surface is fully dry, trapping moisture under the new coat.
- Working from a ladder with a live wand, a common cause of falls during DIY jobs.
Basic safety gear matters too: safety glasses and hearing protection aren’t optional at 1,500 PSI, and outlets and plants need covering before you start. If your project involves a two-story elevation, fragile stucco, or a pre-1978 home with lead paint risk, hiring a professional is the safer call over renting equipment you may not know how to control.
What Field Experience Tells You About DIY vs. Hiring a Pro
Homeowners underestimate how much water control matters until they’ve seen a wand push moisture behind siding that looked fine from the ground. That’s the gap between reading a PSI chart and running one for a living. All Day Power Washing works with commercial-grade equipment and insured crews precisely because tall homes, fragile stucco, and older siding punish guesswork.
A pro adds real value on jobs where the margin for error is thin: steep two-story walls, homes with suspected lead paint, or substrates that can’t tolerate a second pass. DIY works fine for a straightforward single-story vinyl house. It gets riskier fast once height or fragility enters the picture.
— Brandon
Get a Same-Week Quote for Professional House Washing
If your project involves a two-story elevation, aging stucco, or a home where lead paint is a real possibility, hiring out removes the guesswork entirely. Some services run commercial-grade equipment with insured crews and back jobs with satisfaction guarantees, which matters when one wrong pass can mean repainting a wall you just paid to have cleaned.

That’s the real advantage over a rental unit from the hardware store: real crews, on your actual job, using pressure settings dialed in for your specific siding rather than a one-size-fits-all rental nozzle. Whether you’re weighing a low-pressure wash on older siding or need a full house wash before your painter shows up, same-week quotes in Denver mean you’re not waiting weeks to get on the schedule. Request your quote today and get a firm price before you commit to anything.
Sources
- The art of pressure washing — Fine Homebuilding
- D and G Flooring — Pressure wash before painting
- Build-construct
- How to pressure-wash a house — The Spruce
FAQ
Is It Good to Pressure Wash a House Before Painting?
Yes. It removes chalk, dirt, and mildew that block adhesion, but you need to repair damaged surfaces first and let the walls dry fully before painting.
How Much Should It Cost to Pressure Wash a 2,000 Sq Ft House?
Professional washing for a house that size typically runs $300 to $600, depending on grime level, siding type, and your location.
How Soon Can You Paint After Power Washing?
Wait 24 to 48 hours for vinyl, 48 to 72 hours for wood, and 3 to 5 days for masonry or stucco, adding extra time in cool or humid weather.
What Should You Never Do When Pressure Washing a House?
Never spray upward into siding laps, never use a zero-degree red nozzle tip on siding, and never work from a ladder while holding a live wand.