

5 Prep Steps Homeowners Need to Coat a Garage Floor in Winter
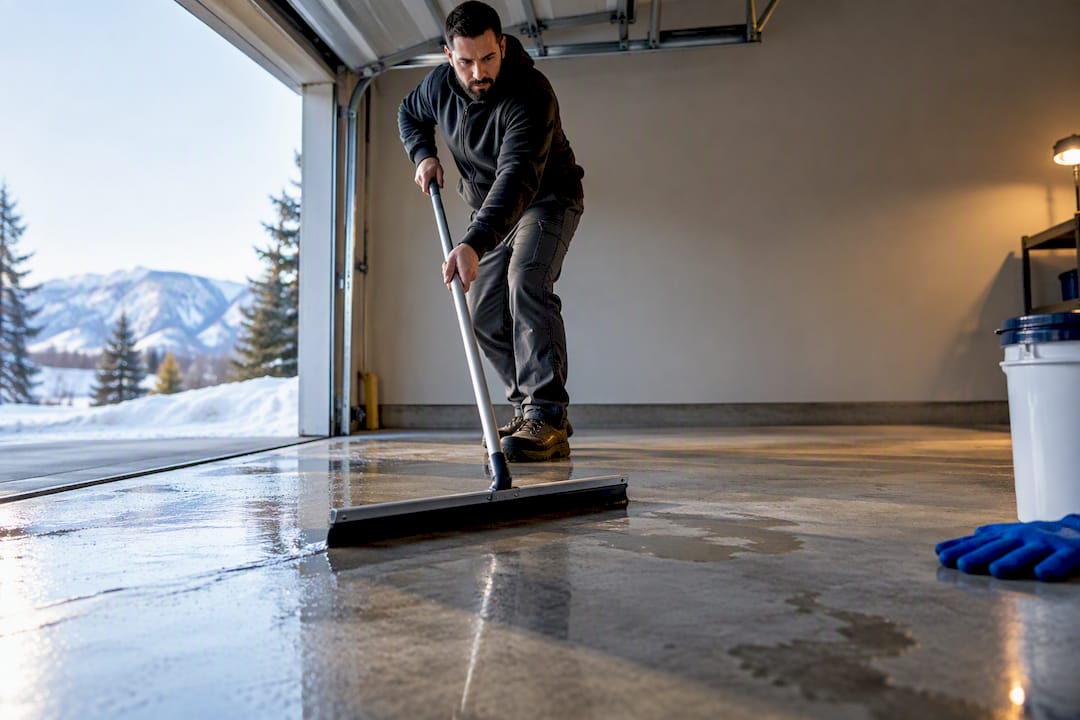
Yes, you can coat a garage floor in winter, but the material choice matters more than the calendar. Polyaspartic and polyurea systems, or a penetrating winter sealer as a stopgap, handle cold far better than standard epoxy. Before anything goes down, check slab surface temperature, dew point, and moisture levels. If those numbers fail, wait or lay a penetrating sealer now and schedule the full coating for warmer weather.
TL;DR:
- Polyaspartic and polyurea coatings cure faster, stay flexible at lower temperatures, and resist salt better than standard epoxy in winter conditions.
- Applying coatings requires slab surface temperatures at least 5°F above the dew point, with proper moisture testing and surface prep to prevent failures.
- Full system coatings should ideally be done with professional help in winter, including diamond grinding and accurate moisture diagnostics, for better durability.
- DIY applications are feasible only for simple tasks like sealing or patch testing, as winter conditions complicate prep and curing processes.
- Regular maintenance, such as rinsing off salt and grit and avoiding calcium chloride on the coating, prolongs the lifespan of a winter-coated garage floor.
Table of Contents
- Which Winter Garage Floor Coating Types Actually Work?
- What Temperature and Dew Point Rules Decide Go or No-Go?
- How Do You Prep a Garage Floor for Winter Coating?
- How Long Does a Winter Coating Take to Cure?
- How Do You Maintain a New Coating Through Winter?
- Should You DIY or Hire a Pro for Winter Coating?
- Getting a Professional Winter Install Done Right
- Sources
- FAQ
Which Winter Garage Floor Coating Types Actually Work?
Standard epoxy struggles once temperatures drop. It thickens, cures slowly, and loses flexibility below roughly 50°F, which leaves it brittle right when a Colorado garage floor takes the most punishment from ice-crusted tires and road salt.
Polyaspartic, a type of aliphatic polyurea, is built for this. It stays flexible at much lower temperatures than standard epoxy and cures fast enough that floors are often drive-ready in about 24 hours, compared with several days for many epoxy systems. That faster cure also matters for a reason most homeowners never think about: less time sitting uncured means less exposure to freeze-thaw swings and salt tracked in from the driveway.
Epoxy still earns its place. In a heated garage, or as a basecoat under a polyaspartic topcoat, it works fine and costs less per square foot. What it should not do is serve as the lone finish coat in an unheated Front Range garage through January.
When a full system is not realistic before a hard freeze, a penetrating silane or siloxane sealer buys time. These soak into the concrete rather than sitting on top, forming a barrier against chloride and freeze/thaw scaling without needing warm, stable cure conditions.
The setup that holds up best across multiple winters combines all three: a properly prepped slab, a basecoat for adhesion and moisture control, and a polyaspartic topcoat for speed and salt resistance.
-
Polyaspartic/polyurea: best cold-weather performance, fastest cure, highest salt resistance
-
Epoxy: fine in heated spaces or as a basecoat, weak as a standalone winter topcoat
-
Penetrating sealers: solid interim protection when a full coating cannot happen yet
What Temperature and Dew Point Rules Decide Go or No-Go?
Three numbers control whether a winter installation succeeds: air temperature, slab surface temperature, and dew point. Air temperature is what most people check first, and it matters least. The concrete itself, and how close its surface sits to the dew point, decides whether the coating bonds or fails.
The rule practitioners use: keep the slab surface at least 5°F above the local dew point before applying anything. Fall short of that margin and condensation forms on the concrete during application, ruining adhesion before the coating ever cures. Manufacturer minimums vary by product. Nox-Crete’s Weather-Sil sealer requires substrate temperatures above freezing at application and for at least 8 hours afterward, while V-SEAL 102 sets its floor at roughly 35°F for both substrate and ambient air.
- Measure slab surface temperature with an infrared thermometer, not the thermostat reading.
- Check dew point with a hygrometer and compare it against the slab reading.
- Confirm the surface sits at least 5°F above dew point and above the product’s stated minimum.
- If either number fails, warm the space temporarily or reschedule.
Pro Tip: Check the slab in at least three spots, near the door, center, and back wall, and take readings again a few hours later. A garage that passes at 10 a.m. can drop below the threshold by late afternoon once the sun moves off the door.
How Do You Prep a Garage Floor for Winter Coating?
Skipping prep steps causes more winter coating failures than cold temperatures do. Power wash the slab first and give it real drying time. Cold air holds less moisture, but it also slows evaporation from the concrete itself, so rushing this step is one of the most common mistakes.
Diamond grinding is the better call for surface profile in winter. It creates a consistent texture without introducing water, unlike acid-etch kits, which leave residue that needs a thorough rinse and extra drying time you may not have in December. Moisture testing comes next, and it is not optional. A proper moisture check using calcium chloride tests or non-destructive meters tells you whether a primer is required before coating goes down.
- Power wash and allow full drying time per the product’s data sheet.
- Diamond grind for a clean, consistent profile.
- Run a moisture test and compare results to manufacturer pass/fail thresholds.
- Repair cracks and fill spalls before moving forward.
- Apply a small test patch and inspect adhesion before committing to the full floor.
- Skip acid etching in cold conditions; it leaves moisture behind that struggles to evaporate
- Never coat over a crack or spall; the movement will telegraph through the finish
- Treat the test patch as mandatory, not optional, for a first winter attempt
Homeowners tackling this themselves often find the prep steps that actually matter take longer in winter than the coating itself.
How Long Does a Winter Coating Take to Cure?
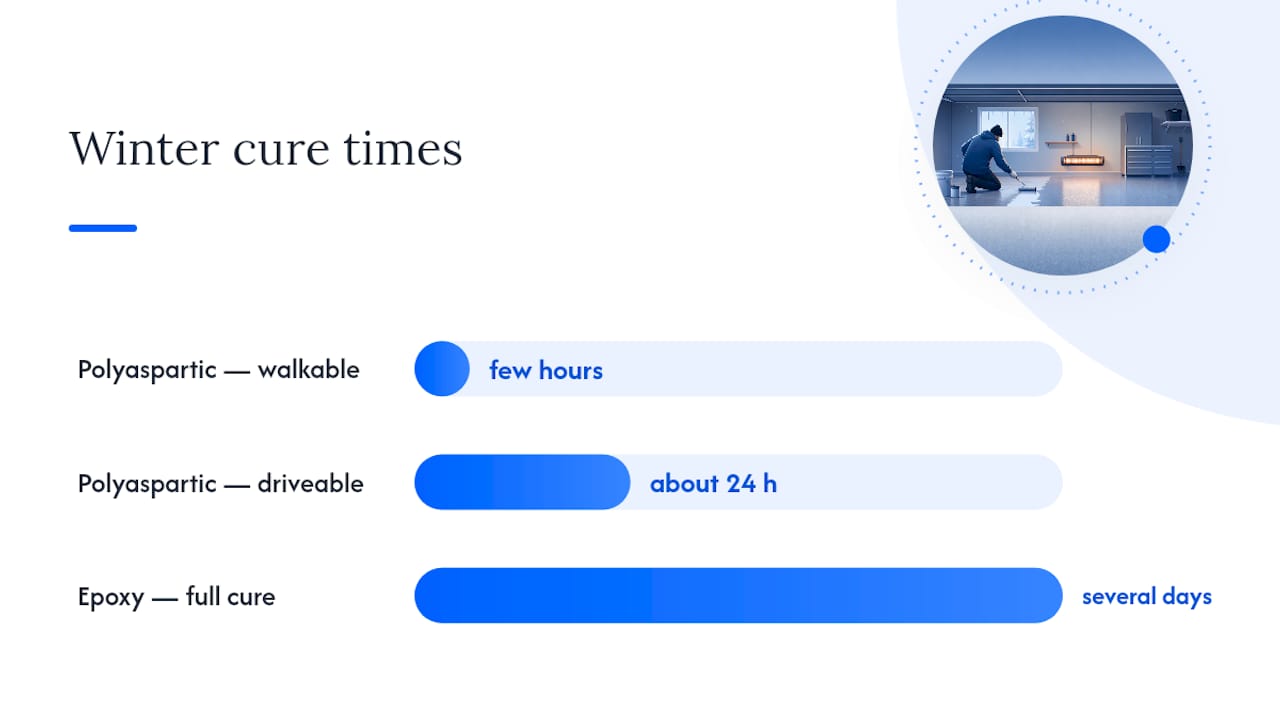
Cure times stretch in cold weather, and that changes how you plan around the project. Polyaspartic is usually walkable within a few hours and driveable in about 24 hours, even in cooler conditions, because its chemistry does not depend on high heat to kick off curing. Epoxy runs the opposite direction. It can take several days to reach full cure in a cold garage, and putting weight or a vehicle on it early risks permanent tire marks or a soft finish that never fully hardens.
A few practical moves shrink the risk:
- Run a space heater or portable heat source to hold the garage in the product’s working range during application and cure
- Choose a winter-formulated or fast-cure polyaspartic system over a standard epoxy blend
- Plan the job around a stretch where the car can sit outside or in a driveway for at least a day
- Keep ventilation running throughout application; cold weather tempts people to seal up the garage, and that traps fumes exactly when airflow matters most
How Do You Maintain a New Coating Through Winter?
A freshly cured floor still needs daily attention once the season sets in. Salt and brine tracked in from the driveway are the biggest threat, and rinsing them off regularly, ideally every week or two during heavy snow stretches, keeps grit from grinding into the surface. A boot tray or containment mat by the door catches most of it before it ever reaches the coating.
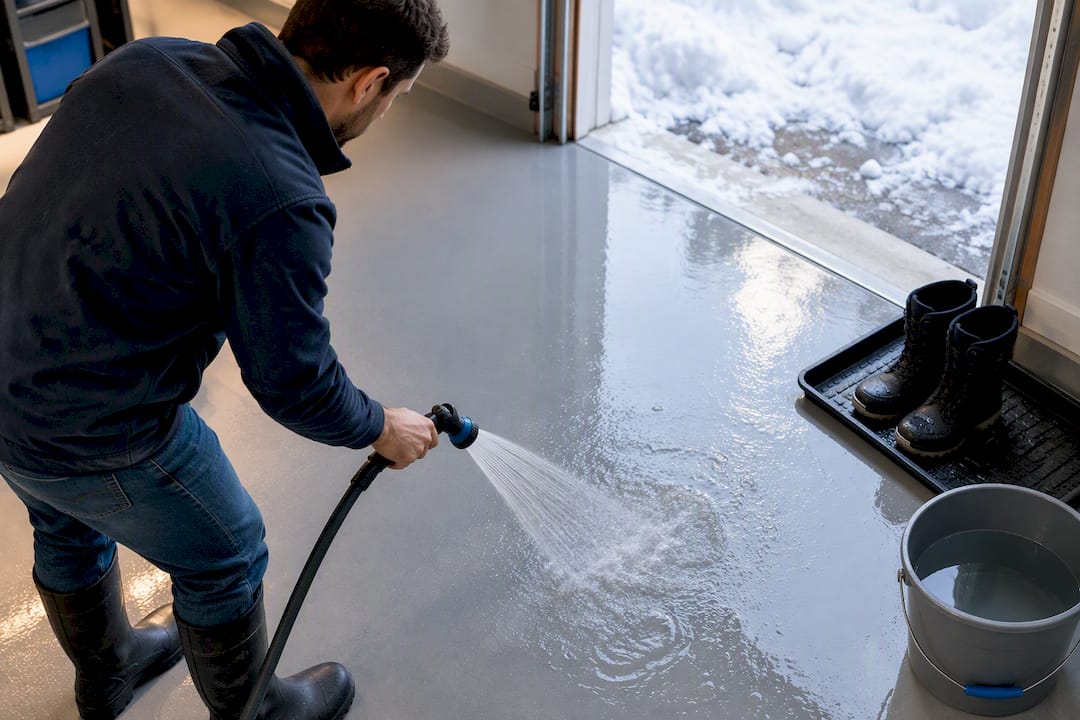
Skip calcium chloride directly on the floor. It is effective on driveways but too aggressive for coated concrete indoors. Shovel or sweep instead, and keep deicers outside the garage door.
Hot-tire pickup is the other recurring headache, especially after highway driving in winter when tires run warmer. Letting tires cool for a few minutes before pulling into the garage helps, and polyaspartic topcoats resist this better than standard epoxy thanks to a higher heat deflection point.
- Rinse salt residue off the floor every one to two weeks during active snow season
- Use entrance mats and boot trays to intercept grit before it spreads
- Avoid calcium chloride on the coated surface; shovel instead
- Let tires cool before parking on a new coating
Pro Tip: If you already coated your driveway or worry about salt migrating onto the garage floor, a resource on road salt protection covers extra steps for the vehicles themselves, not just the floor underneath them.
Should You DIY or Hire a Pro for Winter Coating?
Some winter coating work is genuinely within reach for a capable homeowner. Applying a penetrating sealer, running a basic cleaning cycle, or testing a small patch before committing to a full system are all reasonable DIY projects if you follow the manufacturer’s temperature and dew point limits closely.
Diamond grinding, moisture diagnostics, and full hybrid systems on a two-car floor are a different story. The equipment cost alone rarely pencils out for a one-time job, and a failed moisture test after the coating is down is far more expensive to fix than to catch beforehand. Some professional companies run commercial-grade equipment, carry full insurance, and turn around same-week quotes for local homeowners who would rather not gamble a winter install on borrowed tools.
— Brandon
Getting a Professional Winter Install Done Right
Professional services handle the parts of a winter coating job that punish DIY attempts the hardest: diamond grinding, real moisture testing, and matching the right epoxy or polyaspartic system to your garage’s actual winter conditions rather than a best guess.

When you request a quote, ask for the moisture test results, the product’s technical data sheet, and confirmation that the crew is using a winter-rated formulation rather than a standard warm-weather mix. That is the difference between a floor that survives its first Colorado winter and one that starts lifting by February. Some companies offer same-week quotes and satisfaction guarantees with return visits if something needs a second look. Start by checking epoxy floor coating options and requesting a feasibility visit before the next cold front rolls in.
Sources
- Polyaspartic — Wikipedia
- WEATHER-SIL & WEATHER-SIL EXTREME product data sheet — Nox-Crete
- V-SEAL 102 winter guard technical data sheet — V-SEAL
- How dew point impacts epoxy and polyurethane floors — Alta Paints
FAQ
How Do I Keep My Garage Floor Dry in Winter?
Rinse road salt and slush off regularly, use entrance mats to intercept grit and moisture, and make sure your garage door seals tightly against drafts. Checking a door’s winter seal can cut down on the temperature swings and moisture that reach the floor near the threshold.
What Is the Average Cost of Coating a Two-Car Garage Floor?
Costs vary based on square footage, prep needs, and coating system, and Alldaypowerwashing does not publish flat rates since every floor’s condition differs. Request a quote through the epoxy floor coating page for pricing specific to your garage.
What Is the Best Type of Flooring to Protect My Garage From Winter?
A polyaspartic or polyurea coating system offers the strongest protection against salt, freeze-thaw cycling, and hot-tire pickup during cold months. Where a full system is not feasible right away, a penetrating silane or siloxane sealer provides solid interim protection until conditions allow a complete install.
Can I Epoxy My Garage Floor in the Winter?
Standard epoxy is workable in winter only in a heated garage, since it loses flexibility and cures far slower below about 50°F. In an unheated space, a polyaspartic system or a penetrating sealer is the more reliable winter garage floor coating choice.